Exotic
Exotic is a mood that reminds you of adventure. It’s the memories you bring back with you from vacation. It’s the tropical scent of coconut. Like placing mementos from your travels next to old family pictures, it’s that thrilling feeling when the extraordinary becomes a part of your home.
To create an exotic feeling in your home, we recommend
FRUIT COCKTAIL
This fragrance excites your senses with its vibrant, tropical notes, bringing back memories of your adventurous travels.

Expert Insights
These tips will help bring to life the mood you’re looking to create in your home.


Seek Global Inspiration
A Surprising Touch
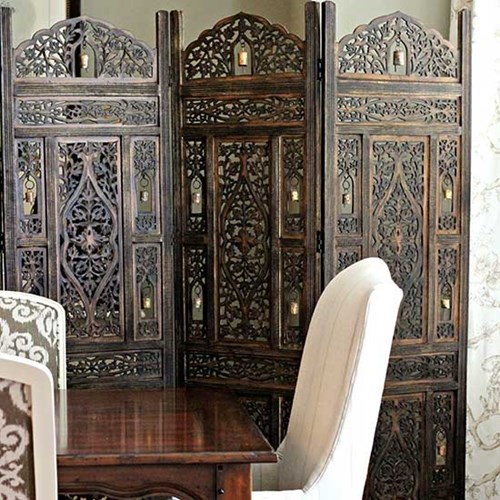
Imported Adventure
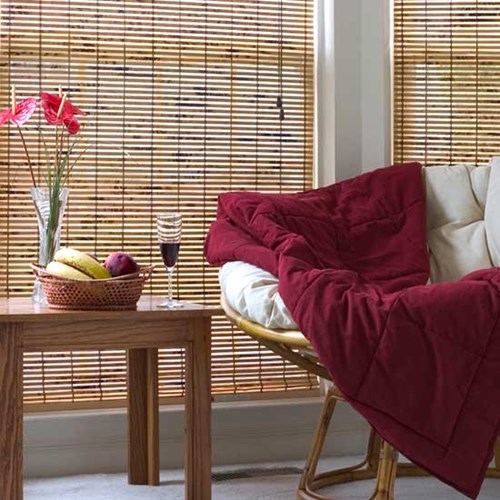
Bamboo Centerpieces & Accents
A River Runs In It
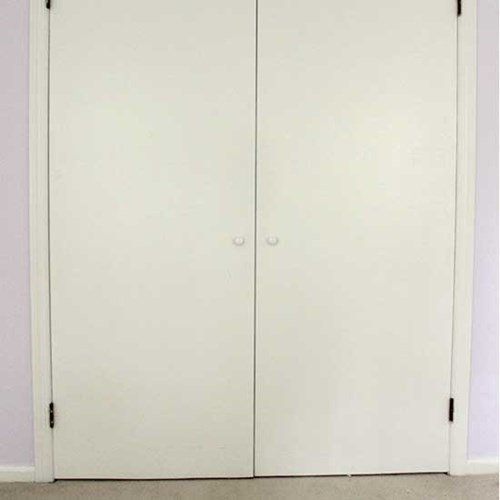
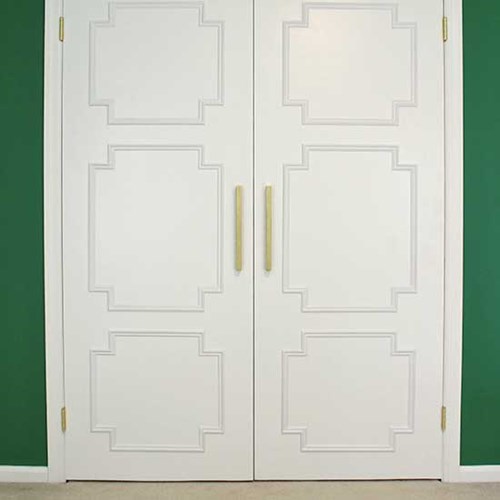
Upgrading a Flat Door with Panel Moulding
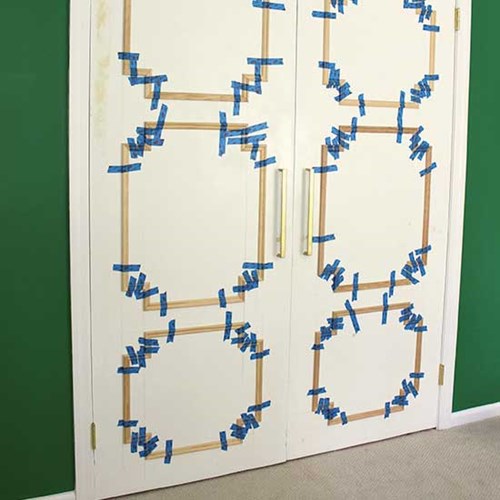
The transformation of unattractive flat doors into paneled stunners shows that adding little details can make a huge difference to the look and feel of your home. And since you get to decide on your own paneling design, you can create any type of look from classic box panels to more exotic patterns with a unique flair.
Supplies List:
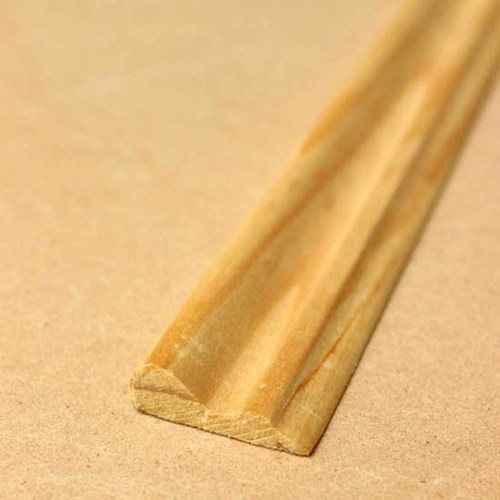
Low profile panel moulding (available at hardware and home improvement stores)
Miter box and saw
Spirit level
Tape measure
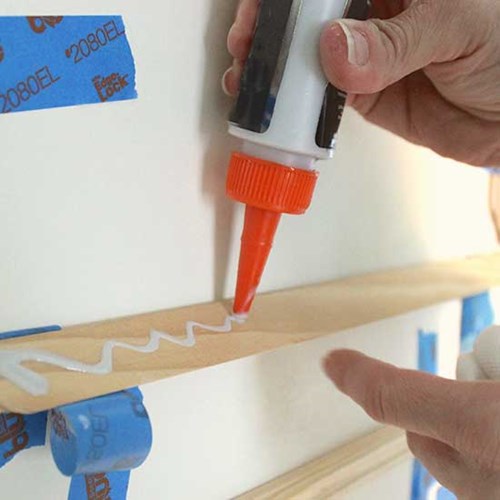
Fast-drying wood glue
Painter’s tape
Small brad nails
Hammer and drill
Wood filler, sandpaper, paintable caulk, and paint